How To Install A Wall Hung Toilet
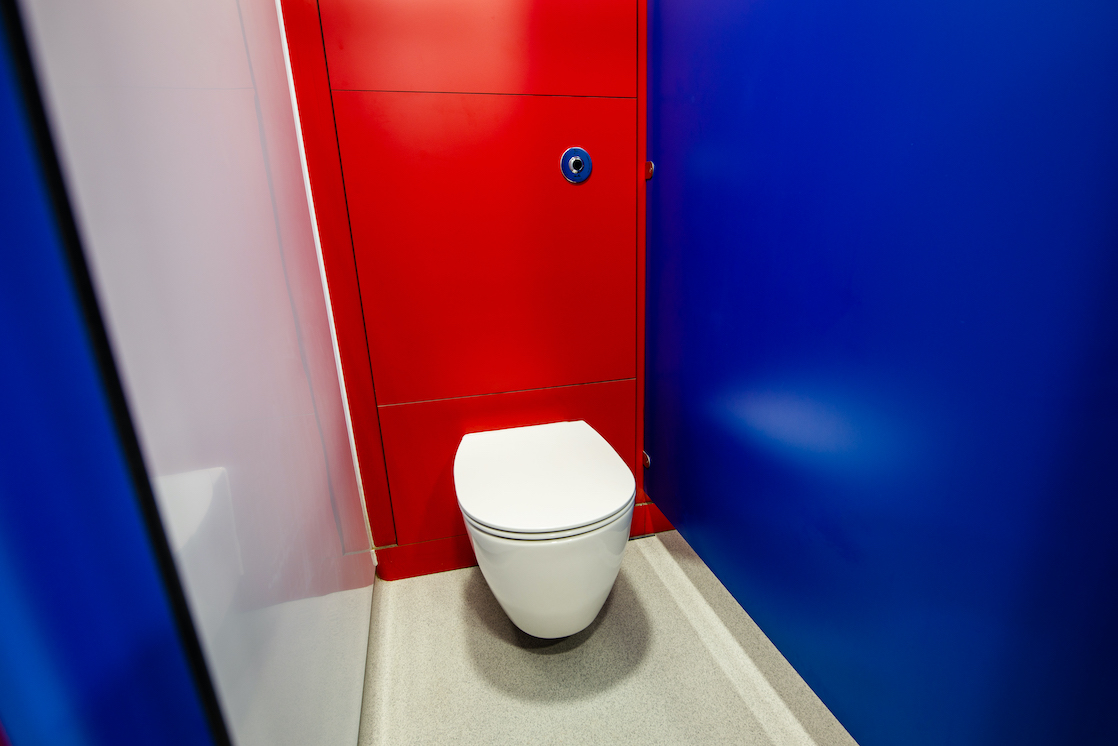
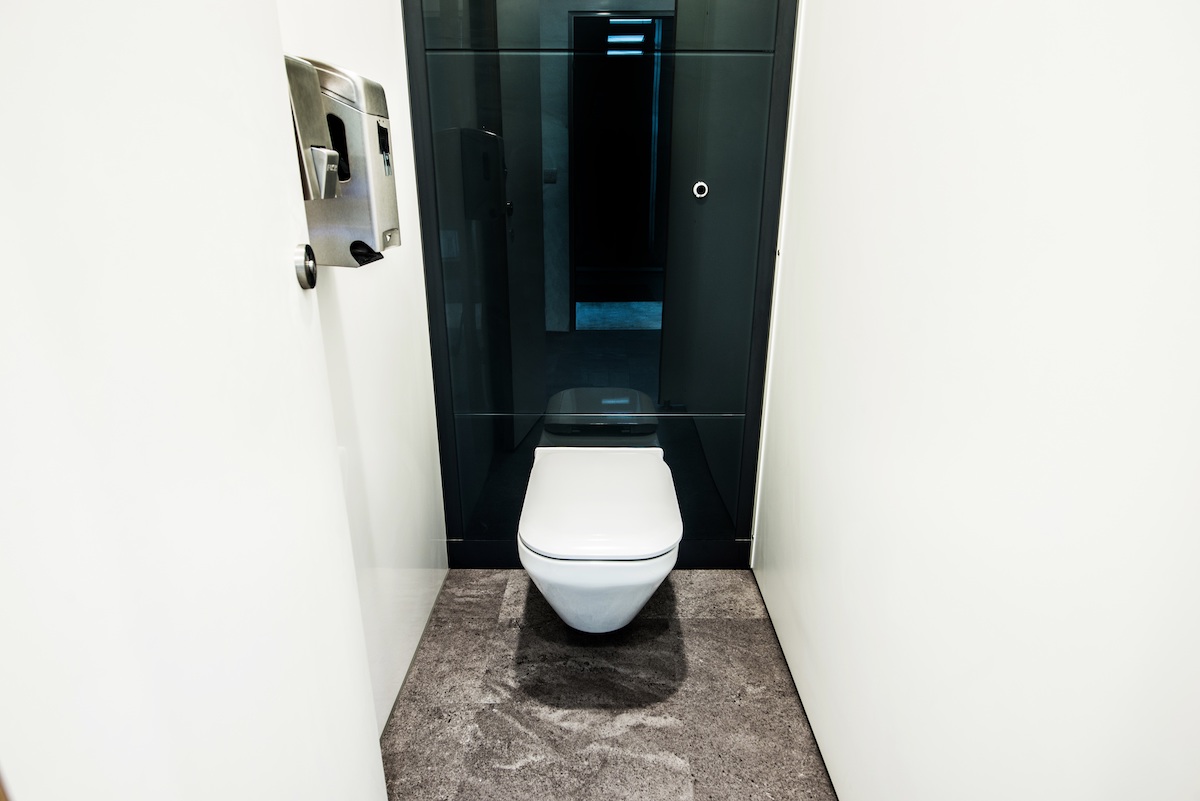
Wall-hung toilets are a feat of modern washroom design and offer a wealth of practical benefits. With the cistern and pipework all concealed within a duct system, the exposed surface areas are reduced. This not only protects them from accidental damage and tampering but leaves a flush, easy-to-clean surface that improves hygiene in your washroom. With the floor beneath the toilet pan left clear, it means no wet joints or mastic at the base and can make a room feel bigger as well as make the floor easier to clean.
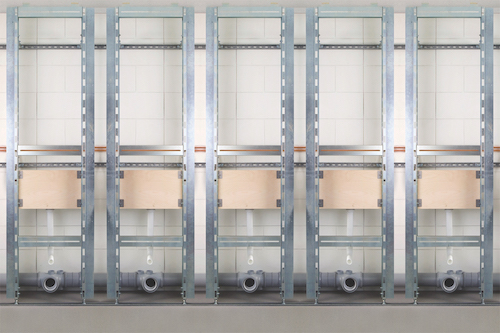
Our IPS panel sets can be supplied with stainless steel frames, rather than timber frames. We would typically recommend stainless steel IPS frames when installing wall-hung toilets as they offer improved safety for the user. As an additional option, we can supply our metal toilet frame which is designed to integrate with the stainless steel IPS frame.
The installation process of wall-hung toilets is more complex compared to your standard back-to-wall close-coupled toilet and requires a duct set in order to conceal the cistern. Here we break down the process step by step.
How to install a wall-hung toilet
STEP ONE: 1st fix plumbing
Before you start to install the IPS panels and cubicles it is recommended that you complete the 1st fix plumbing works. This includes toilet cisterns, flush kits, mains water feeds and waste pipes. If you order your IPS panels as pre-plumbed modules the toilet cistern will come pre-fitted onto the frame.
STEP TWO: Fitting the stainless steel frame to the wall
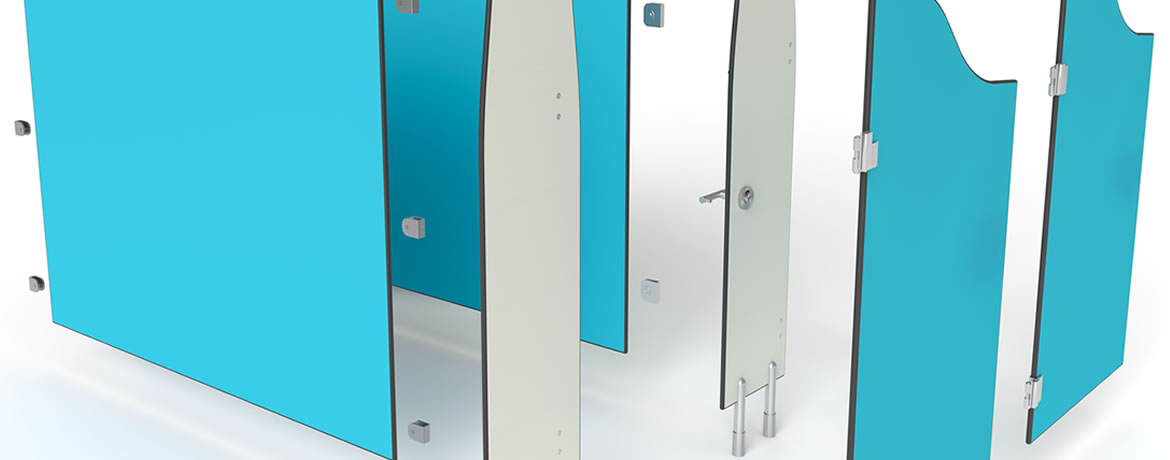
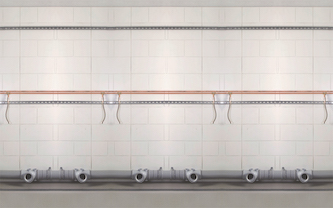
The solid-grade laminate or High-Pressure Laminate IPS panels will come pre-clipped to the metal DUCT set framing. Unclip the panels, numbering them on the back. Fix Unistrut to the back wall of where your new IPS DUCT set will be located. The stainless steel framework can then be fitted, coming out into the room. Where the frame makes contact with the wall and floor, we suggest fixing it with M10 bolts. Remember, your IPS frames, panels, and wall-hung toilet are only as strong as the fixing you install into the wall.
STEP THREE: Wall-hung pan support frame
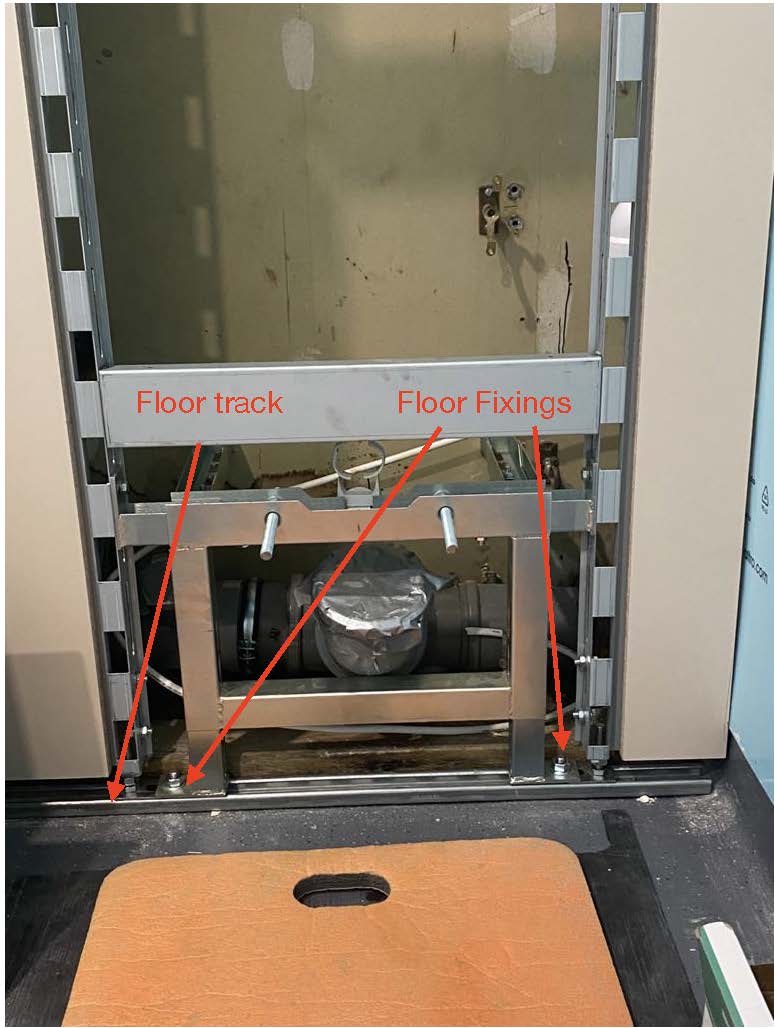
This is perhaps one of the most crucial elements when fitting your wall-hung toilet. The last thing you need is your fixing to give way when a user is sitting on the pan. In order to ensure safety, this support frame is used to secure your toilet safely, delivering a strong, reliable and robust fixing.
This frame is bolted into the floor as well as the back wall of the newly created void. The wall-hung pan support frame also fixes into your DUCT set framework meaning all points of contact are covered and your toilet won’t suffer from cantilever pressure when in use.
While some alternative options exist on the market, including timber frames and L-brackets, our experience shows that often these methods may weaken or fail when in the commercial setting. Some brackets leave a tiny amount of play and movement once installed, which may require fitters to fill the gap with packers. Obviously, this is not a suitable, nor long-term solution and to protect your washroom from undue liability and unnecessary wear and tear, we deem the wall-hung pan support frame essential.
STEP FOUR: Lining up your toilet pan
Before hanging your toilet pan, you need to ensure they are marked out evenly and spaced to allow for the cubicle enclosures that will be installed later. Once you have double-checked your measurements, you can attach the fixing rods that will carry your wall-hung toilet pans.
STEP FIVE: Cisterns, flush kits and cut-outs
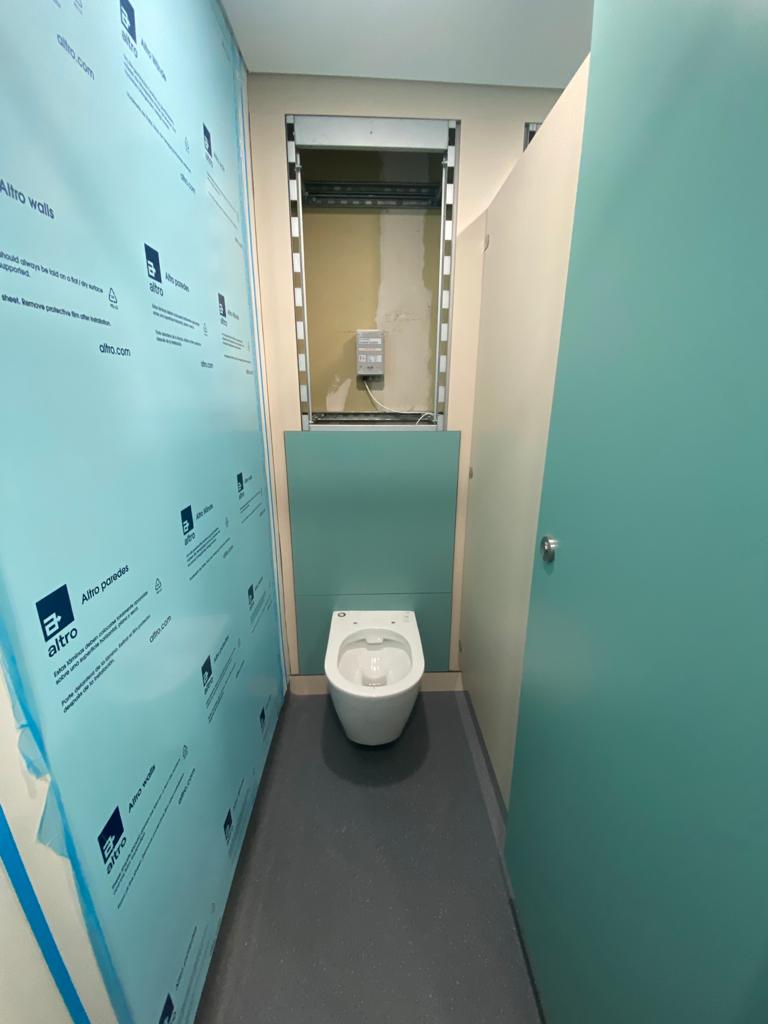
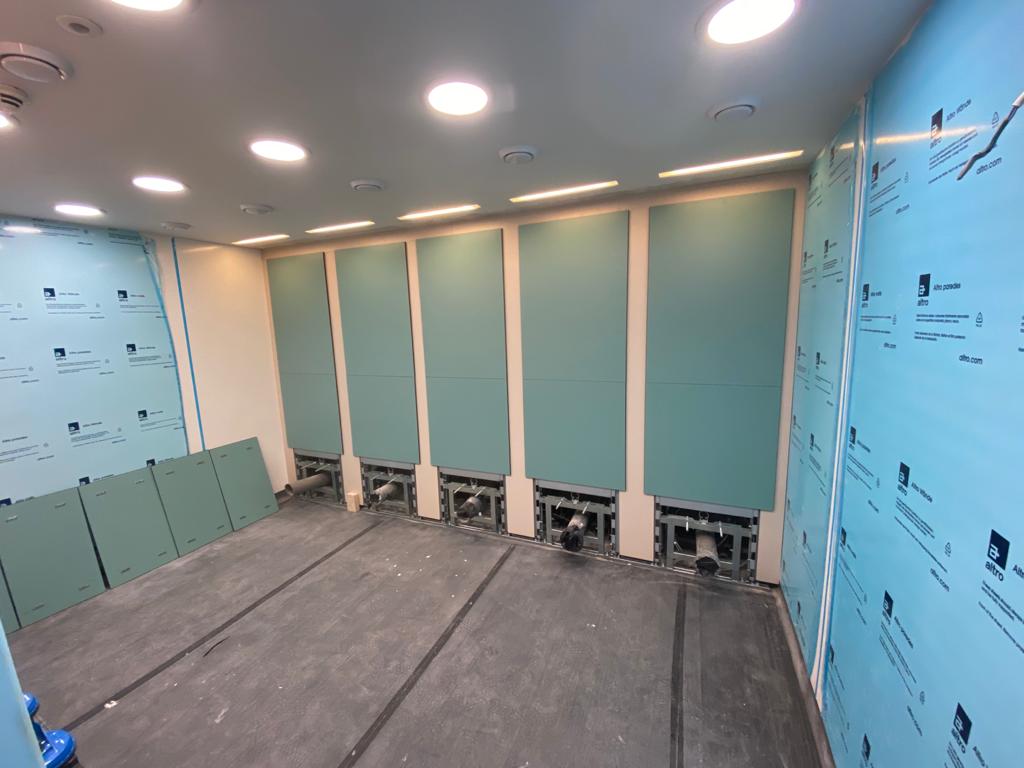
On completion of this, you will need to cut out holes on the solid-grade laminate IPS panels for your push button or sensor flush control, waste outlet, flush cone and fixing rods. Once this has been done, all the IPS panels can be clipped back to the stainless steel DUCT set frame.
STEP SIX: Second fixing your wall-hung toilet pan and controls
With a flush wall surface provided by your newly constructed IPS DUCT set, you now have the strength and integrity needed to support your wall-hung toilet pans. With a clear run of wall space and protruding fixing rods, your toilet pan should be rested into position and fixed securely to the manufacturer's guidelines. After second fixing your waste, mains feed and flush control, your wall-hung toilet is ready to be activated and used.
If you have any further questions about installing wall-hung toilets or finding out how IPS DUCT sets could improve the functionality of your washroom, please get in touch with one of the team on 01202 650900.
MORE TO EXPLORE IN Related Posts

Wall Hung Toilet IPS (Integrated Plumbing System)
Ideal Standard Concept Wall Hung Toilet With Aquablade Technology
As low as £406.80 £339.00
KWC DVS Automatic Toilet Sensor Flush Kit
As low as £408.00 £340.00
Full Height Blank IPS Duct Panel Set
As low as £342.00 £285.00

