How to install a wall hung sink
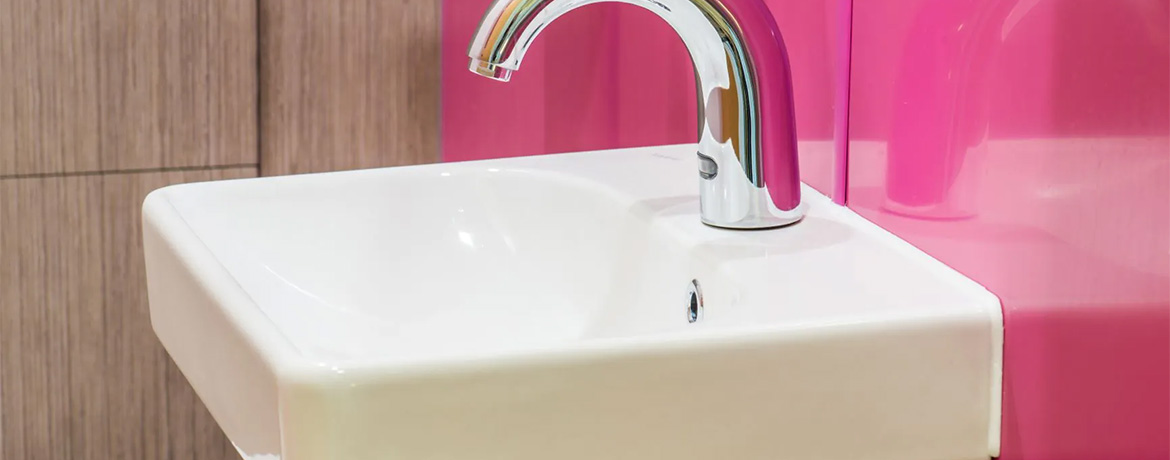
Wall hung basins are one of many styles of sink you can get in your commercial washroom, and are a great option for washrooms, where space is at a premium; since they remove the need for a vanity unit. We can supply you with a number of wall hung basins for new refurbishment projects or replacements for damaged units, but you might be wondering how to actually install them in your washroom.
Read on for a quick, step-by-step guide on how you can easily install Wall Hung Sinks and Basins.
You’ll need to make a decision on where the basin(s) are actually going to go in your washroom before you do anything else. Are they going near an existing water supply? Are they at a comfortable height for users? Have you considered the layout of the washroom beforehand; such as what the heaviest foot traffic areas of the washroom are, so as to minimise congestion? These are the types of questions you should consider before finalising where you’re going to put them.
Next, you need to measure your wall hung sink; you should begin by measuring from the top of the basin to the centre (between the two fixing holes), and then measuring the distance between the fixing holes.
Now that you know where you’re putting the basins and what the sizes and dimensions of them are, you can begin positioning them in your washroom. First, you should stick a strip of masking tape on the wall, and mark the intended height of the top edge of the basin on your masking tape; then place another strip of masking tape below the first and measure downward from your top edge, using the first of your basin measurements (above) to find the height for your fixing holes. Mark a line on your masking tape here, using a spirit level to get the line perfectly horizontal.
Next, measure across the wall to locate the optimum position for the centre of the basin and mark this position on your line. Finally, using the second of the measurements previously taken (the distance between your fixing holes), you can measure outwards along the central line and mark the position of the two basin fixing holes on your masking tape.
Once all of the positioning is done, you can drill your fixing wall holes, making sure to use the appropriate drill bit and wall plug combination for the type of wall in your washroom.
Once the drilling is done, insert the wall anchors into your fixing holes and tighten them using a spanner. Remember that once your basin is in place it will be fixed onto the wall anchors with a flanged collar sleeve, washer, and nut: you need to remember to leave enough of the wall anchor thread protruding from the wall to be able to do this.
With the wall anchors in place, you must now check that they are level, and remove the masking tape from your wall. Then, set the basin onto the wall anchors and fit the flanged collar sleeve, washer, and nut, in this order, to each wall anchor. Level up the basin (using a spirit level) and tighten the nuts securely.
Now you should have your wall hung basin in place in your washroom! Simply repeat the process to fully furnish your washroom with wall hung sinks; if you’re interested in getting these basins for your washroom you can view our range of wall hung sinks and basins here.
DISCLAIMER* This blog article is meant as a guide or suggestion as to how you could install a wall hung sink in your washroom; if you can, you should always seek out a professional installation for the best and safest results.
MORE TO EXPLORE IN Related Posts

Ideal Standard Strada 45cm Handrinse Washbasin with Left Hand Taphole
As low as £219.60 £183.00

Armitage Shanks Sandringham 21 45cm Handrinse Washbasin - 1 or 2 Tapholes

