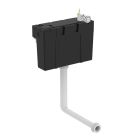
How To Fit A Toilet Cistern
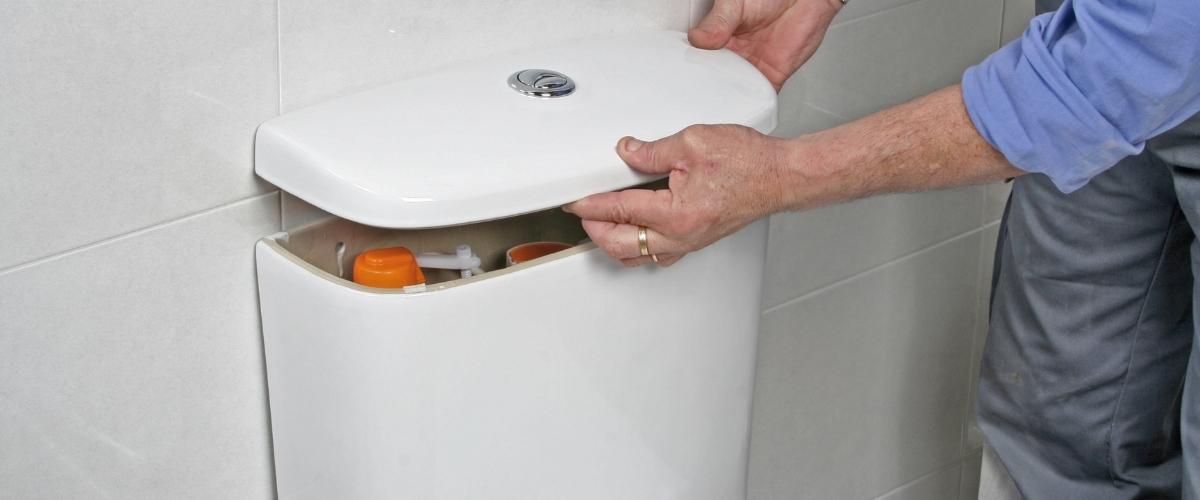
Fitting a Commercial Toilet Cistern isn’t as complicated as you might think, but there are certain steps that need to be taken. Exact installation instructions will vary between manufacturers, but there are some universal steps that can be covered below.
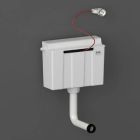
We have given guidelines for fitting a commercial close coupled toilet cistern - the kind that is attached to the back of the toilet pan, and also a concealed cistern, which would be found within an IPS DUCT Set. Before you begin with any installation, always make sure to check with the manufacturer’s guidelines and drawings.
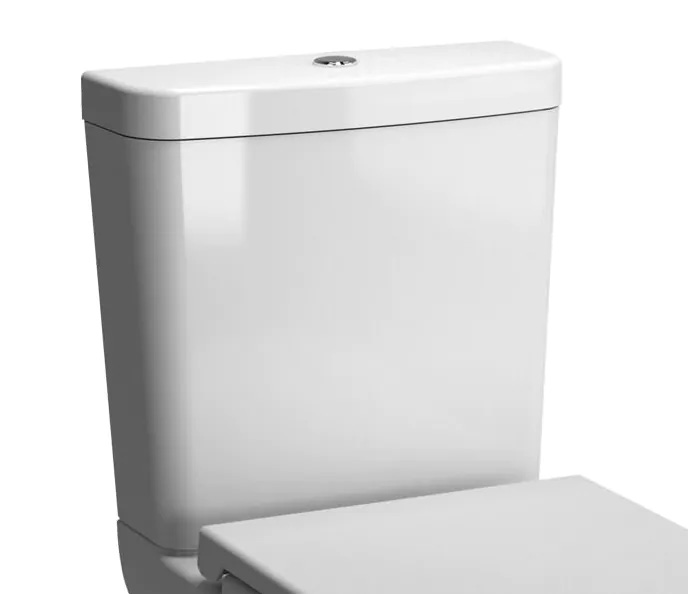

Installing a close coupled cistern
Step one: Unpack the cistern and check to see if the syphon has already been installed. In some models this has already been done for you. If the syphon has not already been installed, then you need to fit it with the thread and washer provided.
Step two: Connect the fill valve where the water comes into the cistern. This will also have a thread.
Step three: Put the thick rubber donut bung in place. This will create a water-tight seal between the cistern and toilet pan. At this point you will want to connect the cistern to the toilet. This is usually done through two fixing bolts which sit on a rubber washer to maintain the water-tight seal of the cistern.
Step four: Offer up your commercial toilet to the wall, and continue with the installation.
Installing a concealed IPS cistern
Step one: Unpack the components of the cistern and check with the manufacturer’s drawings. You will most likely need to connect the syphon, which will be done with a thread and washer.
Step two: Connect the fill valve where the water comes into the cistern. This will also have a thread.
Step three: As a rule of thumb, fit your cistern so that the top of the cistern is 900mm from the finished floor. For a lot of cisterns, this will leave you sufficient room for adjustments when it comes to installing the toilet pan.
Step four: Fit the flush pipe to the cistern, which will hang down low.
Step five: Fit IPS panels and continue with the second fix toilet installation. The flush pipe should have plenty of room for play when it comes to the installation of wall hung or back-to-wall toilets.
For more information, please get in touch with one of the team on 01202 014424.
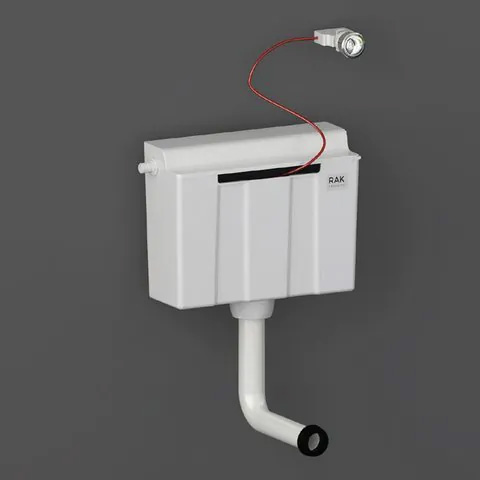

MORE TO EXPLORE IN Related Posts

Armitage Shanks Sandringham 21 Magnia Low Level Toilet (individual items)
As low as £68.40 £57.00
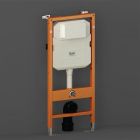
RAK Ecofix 12cm Wall Hung Toilet Frame with Front Flush Concealed Toilet Cistern
As low as £261.60 £218.00
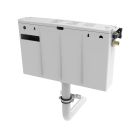
Dudley OSMO Concealed Toilet Cistern with Chrome Plated Round Dual Flush Push Button
As low as £87.60 £73.00

Armitage Shanks Sandringham 21 Close Coupled Toilet To Go Pack
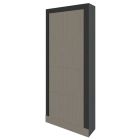
Full Height Blank IPS Duct Panel Set
As low as £342.00 £285.00

