How to install a Shower Mixer Tap
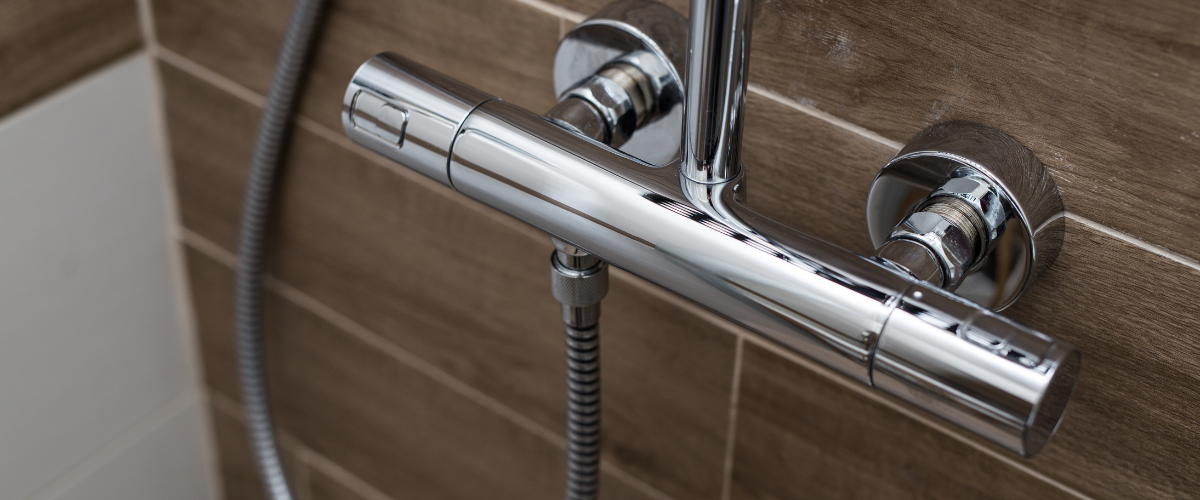
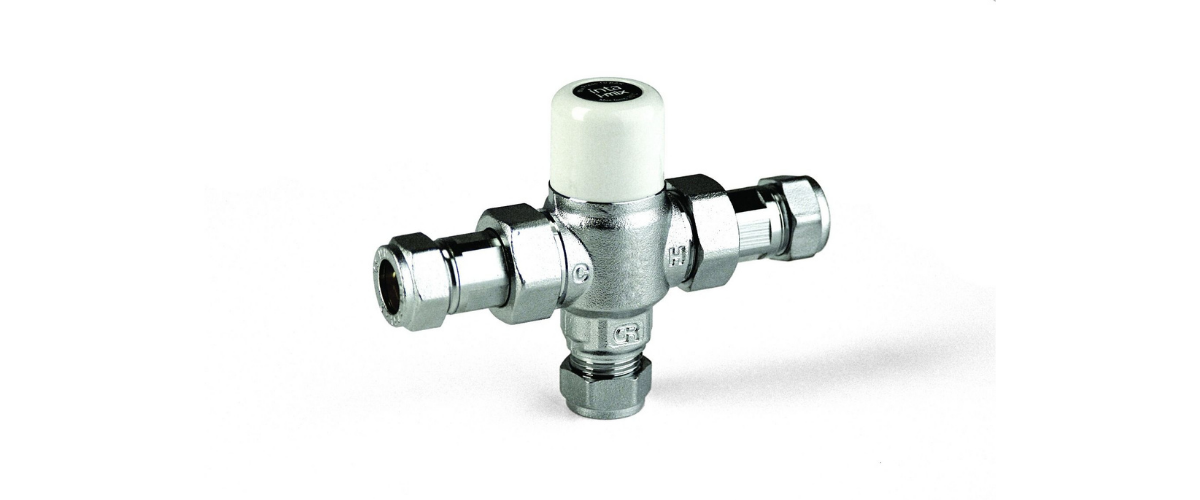
A Shower Mixer Tap, also known as a Thermostatic Mixing Valve (TMV), is a type of tap that mixes hot and cold water to provide safely blended warm water to taps and other outlets, to prevent scalding. Commercial showers should be fitted with TMV3 valves to ensure anti-scald. Read on for our quick, step-by-step guide on how to safely install a shower mixer tap in your commercial washrooms.
Installation:
Make sure to turn off the water supply before starting the process, or dismantling your old unit.
Next, you need to decide where to take the water supplies from; in most washrooms, you will be fitting the tap into a shower enclosure, which should have hot and cold water feeds nearby. You can check which is which by tracing the pipes back from the nearest hot and cold sources.
Once you’ve decided where to take the hot and cold water supplies from, you’ll need to isolate the supply. You can accomplish this by switching off the stopcock or local isolation points and then opening the hot and cold taps to drain away the water in the pipes.
With the water supply isolated, the next step is to run the pipework towards the shower. Check the instructions that are included with the valve and feed the hot and cold supplies to the right sides (hot water supply should be on the left; the cold should be on the right).
Include a shut-off valve on the hot and cold supplies, as close to the shower as possible. Slot in a section of copper pipe at the end of the plastic pipe runs (if appropriate); doing so will make it easier to tighten up the compression joints on the pipe.
Once you’ve done this, put the plastic stop ends on these pipes, switch the stopcock back on and check for leaks on the new pipe runs.
To prevent any damage to the shower valve, flush the new pipework through to ensure any dirt flowing in the water is removed. When you’ve finished flushing the water through you can turn off the stopcock.
Next, work out how much outlet pipe is required by taking the shower valve and putting it against the wall where it’s to be fitted; mark off the amount of pipe required that will allow it to fit to the wall, before cutting the outlet pipes to the right length.
Then you’ll need to mark and drill out the holes for the valve in the wall.
Follow this by placing a collapsible olive into each inlet on the valve, and secure it by screwing the retaining nut on to it by one turn.
Align the thermostatic valve with the supply pipes, making sure to ensure that they slide into the inlet pipes fully.
Next, screw the shower valve to the wall and tighten the retaining nuts with an adjustable spanner. Turn the stopcock back on and check for leaks at the inlet pipes.
Then you’ll need to fit the rest of the shower kit; if your shower kit uses a flexible hose, then all you need to do is connect it up and fit it to the bracket that holds it in place. If you have a riser pipe, you may need to cut its length first to suit the height of the ceiling.
Take some double-sided tape and put it on the top bracket, sticking it at the height you want it to be above the shower valve. Measure between the bottom of the bracket and the top mounting nut on the valve, and add this measurement to those you made in the previous step; cut the riser pipe to this length.
Test that the riser pipe fits between the valve and bracket, and ensure it’s vertical with a spirit level. Mark off the top bracket mounting holes, drill and plug.
Now you can fully fit the riser and tighten the top and bottom nuts. Some shower kits have an extension piece that attaches to the riser’s top bracket for the showerhead; fit this and screw the shower head on.
Check for leaks by running the shower. Ensure the thermostat works by switching on the taps and make sure the shower temperature remains constant. You should now have a fully functioning shower mixer tap in your washroom.
This guide is aiming to explain and take you through the process needed to install a shower mixer tap, however, we do offer washroom installations as part of our service. For more information on the different types of shower taps and valves we sell, you can view our range of TMVs, Shower Valves and commercial taps here.
This article has been written in good faith as a helpful guide; please consult your manufacturer's installation manual for a full installation guide. Installation of the washroom products sold on the Commercial Washrooms website should only be carried out by fully trained and qualified tradespeople.
MORE TO EXPLORE IN Related Posts
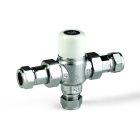
Inta Intamix TMV3 Thermostatic Mixing Valve (15mm or 22mm)


